Well hello friends!
Welcome or welcome back, I’m really excited to share this new post with you all. This is my Full beginner makeup look under $60. I decided to do this because I know a lot of people that have no idea where to even begin when it comes to makeup. Therefore, why not make a starter place for those of you that have no idea what you’re doing. This post can also be for those of you that are in need of a new foundation, mascara, blush, or maybe even just a cheaper option on those days you’re just running to the store and don’t want to put your more expensive makeup on. Now for some of you, $60 may seem like a lot to spend on makeup but it’s actually not very easy to buy a full face of makeup for that. You can easily spend $100 or more on products that will give you close to that full face of makeup look but not even completely. I did the hard work for you and found products that I love and would be best for beginners to use. Follow along as I list the products I used and how to achieve this look (featured above) for under $60!

- Foundation- Wet n Wild photofocus Foundation (I used the color soft beige and Wal-Mart, CVS, and Walgreens all have this foundation if you need to find a match in color.) ($4.69)
- Makeup Sponge- EcoTools Total Perfecting Blender ($2.99)
- Highlight & Contour- Hard Candy Look Pro! Highlight & Contour Face Duo Stick (if you’ve ever heard of bronzing your face and highlighting with concealer, this stick will do both for you! I love it because it’s an all in one.) ($6.00)
- Powder- Airspun Translucent Loose Powder ($5.97)
- Brow Pencil- NYX Micro Brow Pencil in Brunette
- Cream Eyeshadow- NYX Lid Lingerie Eye Tint in Rose Pearl
- Blush Brush- e.l.f. Blush Brush
- Blush- NYX Ombré Blush in Nude to Me (This blush looks amazing on tan skin so I figured this would be perfect to feature since summer is here!)
- Mascara- Tarte Travel Size Lights, Camera, Lashes 4-in-one Mascara (Yes, $12 is expensive for a travel sized mascara but I’ve really been obsessed with this one lately so I have you one splurge item. It’ll be worth it, I promise it! If you’re not about it, Maybelline Lash Sensational would be my next pick. (Tarte- $12, Maybelline- $5.39)
- Lipstick- Maybelline SuperStay Matte Ink in Seductress (This Lipstick is, by far, the longest lasting lipstick I’ve ever worn. It’s amazing! I’ve told my friends about it and they’ve fallen in love too. It’s got this amazing texture that when it’s on your lips, you can barely feel it, and when you look in the mirror you’re finally reminded you still have lipstick on. That’s the best kind of lipstick in my opinion.) ($6.64)
- Start with making sure that your face is clean and moisturizer. Since we are not using a primer, we need to make sure that our face has a base before we put our foundation on.
- Now that we moisturized, it’s time to put on the foundation! Wet n Wild’s photofocus Foundation had a wand attached to it that I use to place the product onto my face.
- Grab your Ecotools Total Perfecting Blending makeup sponge and turn your water on in your sink. Place your sponge under the water and squeeze it so it absorbs water. Then remove the sponge from the water and squeeze the excess water from it. You want your sponge damp but don’t want extra water in it.
- Now we can use that makeup sponge to blend in our foundation that we placed on our face. Use a light bouncing motion to blend the foundation in. Make sure you are blending it in all over your face, ears, and down your neck. We want the product to match all surrounding areas so it doesn’t look like we have multiple skin tones.
- Once you have finished blending in your foundation, grab your Hard Candy Look Pro! Highlight and Contour Face Duo Stick and use the lighter side first. Apply this to your under eyes, bridge of your nose, then moving up to your forehead and feathering it out. Then take the other end (the darker part) and apply this to your jawline, the space under your cheekbone, and on the outside of your forehead. Once you’ve applied your highlight and contour to your face, grab that makeup sponge and blend in that makeup.
- Grab your Airspun Translucent Loose Powder and dip your makeup sponge into powder. Place the powder under your eyes, under your contour (the spot between your jawline and space below your cheekbone. Also place the powder in between your eyebrows where we placed the highlight earlier. I like to also go over my face and apply the powder to the places that feel tacky. The reason we are placing the powder is to set this makeup for long lasting wear. We are gonna keep this powder on our face for a little and come back to it.
- While we let our makeup set with the translucent powder, let’s grab our NYX Micro Brow Pencil and outline our brows. I like to start with the top and use a fairly light hand, especially if this is your first time. Once you’ve outlined the top and bottom brows, start on the inside of your brows and start to lightly feather your strokes so they match the hairs in the center of your brows. As you work your way towards the center of your brows we can start to darker the color a little. Continue coloring in until you have acquired your desired brow.
- Now we are grabbing the NYX Lid Lingerie Eye Tint and applying this to our lids. Use your desired amount and blend with your fingertip. Try to not apply this too far up your lid, just slightly higher than your crease.
- Remember that powder we placed all over? Well grab that e.l.f. Blush Brush because we are about to brush that all away. Go back to that excess powder and brush it off your face.
- Grab that NYX Ombré Blush And use the e.l.f. Blush Brush to dip it in the product. Take the brush and apply the blush to the apple of your cheeks and up towards your high cheekbones.
- I promise we are ALMOST done, Just two more steps! Now grab your Tarte Travel Size Lights, Camera, Lashes 4-in-1 Mascara and apply this to your eyelashes. I like to apply my mascara with a rolling motion going up to help curl the lashes as I’m applying the product.
- Last but not least, grab your Maybelline SuperStay Matte Ink apply this lipstick to your lips. Try to make sure that you start at your Cupid’s bow and make your way out.
**Below I’m going to feature more products that I feel will help this process go smoother or help. You don’t need these, but they will help. These products exceed the $60 limit but I figured I’d include them in case you’re interested.
***If any of these steps don’t make sense, check out my video below for an idea of how to do them.
And that’s a wrap. Let me know what your think of this video and if it has helped you or not. I’m more than willing to do more videos like this with suggestions. Let me know with comments below or on Instagram.


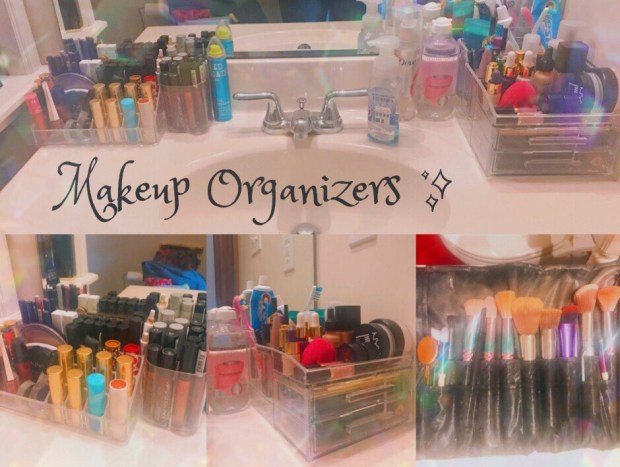
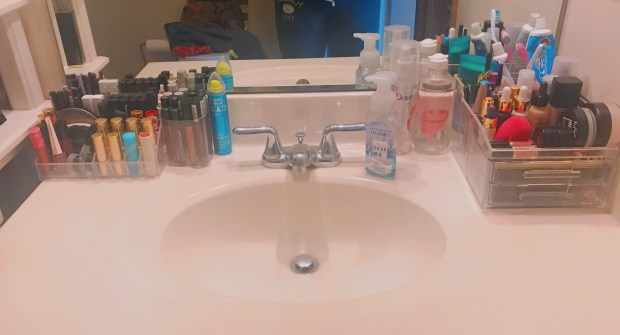 Full View of Makeup Organizers