Hello friends,
It’s that time of year again where Ulta has their 21 Days of Beauty sale! This is a perfect time to stock up on those favorite prestige items or finally try that $30 bronzer you’ve had your eye on. Either way, you don’t want to miss out on this sale PLUS it lasts for 21 days!!! Here’s the catch, there are certain days that certain prestige items go on sale. For example, tomorrow (Sept. 1st) is the first day of the sale and Benefit’s Porefessional Primer is 50% off. BUT, it’s only on sale Sept. 1st, get it? I figured you would! You can easily find the calendar online or in the app and I’ll feature it at the bottom of my blog for you to check it out. Let’s get started:

• Benefit the Porefessional Pore Primer: If you’re looking for a primer to look like a filter, then look no further. This primer by benefit will make all your dreams come true! Sept. 1st- 50% off- $16 for Mini, $27 for Regular
• Urban Decay Mini Eyeshadow Potion Primer and Urban Decay Mini Setting Spray: These two products from Urban Decay are my favs and to be able to purchase these and get another free on top of it is a steal! Sept. 1st- 21st- Buy 2 Minis, Get 1 Free
• Benefit Hoola Matte Bronzing Powder: I recently received a sample of this raved about bronzer and I gotta say, I’m very impressed. The consistency of the bronzer glides on so well and pleasantly surprised me. Sept. 9th- 50% off- $15 for regular size
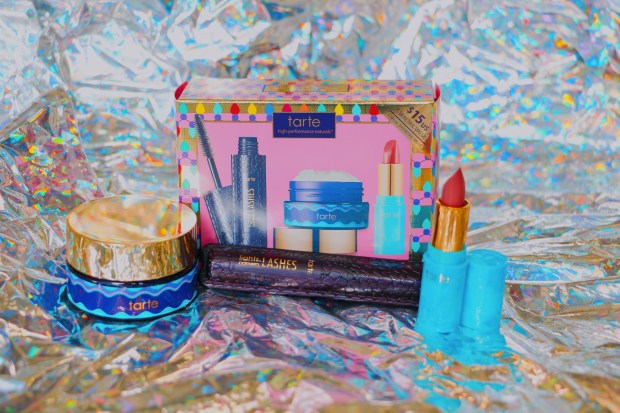
• Tarte Lights Camera Lashes 4 in 1 Mascara: I’ve been using this mascara for the last couple of months and I love how light it is on my lashes. Usually the consistency of mascara weighs down my lashes but this mascara does not. It’s super light and lengthens my lashes like there’s no tomorrow! Sept. 12th- 50% off- $11.50 for Regular size
• Lilly Lashes in Miami: These faux mink lashes are so fluffy and gorgeous. I’m obsessed with them and they are worth the price but even better when you can get them discounted. Sept. 1st- 21st- 30% off- $18.20 for one set
What I Want:
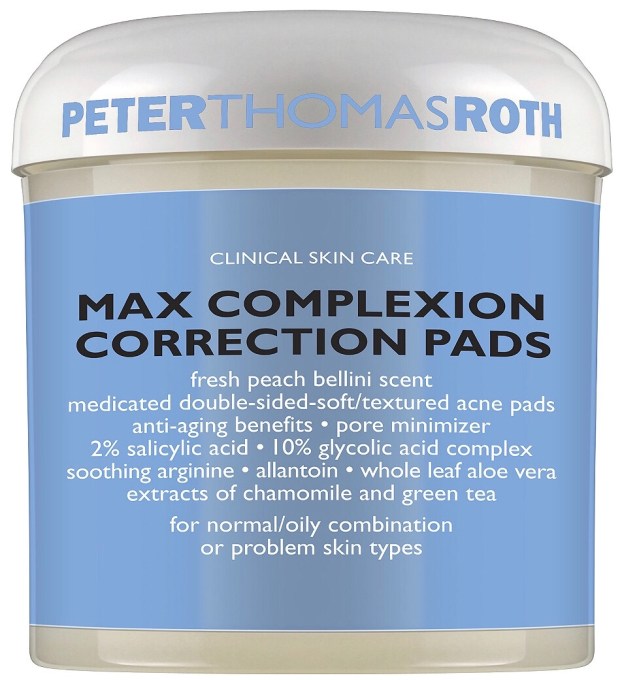
• Peter Thomas Roth Max Complexion Correction Pads: I’ve read the reviews and I’m SOLD! It has a Peach Bellini (my favorite) scent and helps clear your face for acne purposes. I can’t wait to snag these during the sale.

• Maybelline Super Stay Ink Crayon in Lead the Way: I’m in love with the Superstay Matte Ink Liquid Lipstick so I’m super curious to try this crayon out!
So with that being said, what are you waiting for!? Check out Ulta Beauty’s 21 Days of Beauty and treat yo self girl, you deserve it! What do you have your eye on for the sale? Let me know in the comments below!