Welcome back everybody,
If you’ve been following along with my blog, I mentioned that I have grown a passion for makeup through the last couple years. I do not consider myself a makeup artist by any means but I’d like to think I have learned A LOT from some of my favorite makeup vloggers on Instagram. My two favorites are @exteriorglam and @annalovesyou, if you don’t follow them you need to check them out! Anyway, I wanted to be able to give you guys basic tutorials, suggestions on products and my favs, techniques I use, and more. Today, I wanted to focus on my basic makeup routine. Basically, I wanted to break down my process of how I do my makeup and what I use. So here we goooo…
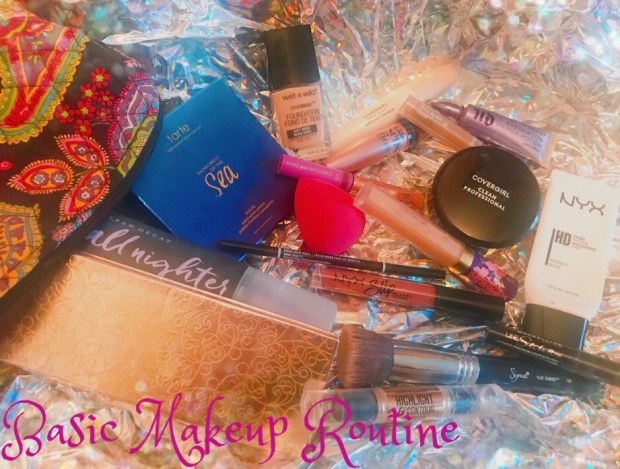
What I Use:
Primer – Before I used this primer my makeup would be all over my face or completely gone by the end of the night but no more. Now my makeup stays all night!
Foundation (In Soft Beige)- Seriously, this foundation is the real deal. I just started using it but it’s by far the best I’ve used in a while AND (you won’t believe me after I tell you this) it’s ONLY $5!!! Yes, five dollars, that’s it. So I know what you’re thinking, there’s no way it’s that good for that cheap but let me tell you, it is. If you’re someone that goes through a lot of foundation, I highly suggest this. If you’re someone in search of a new foundation, I highly suggest this. If you’re someone who is sick of paying $30 for foundation, I highly suggest this. If you’re someone who uses foundation, I highly suggest this. You catching what I’m throwing? Haha I sure hope so!
Foundation Brush – I know for years I struggled with finding a way to apply my foundation and to be happy with the result. I can finally say, I have found it with this brush, thanks to my favorite insta vloggers! If you have this same struggle, I definitely suggest this brush. It’s a little pricy but so worth it.
Concealer (33N Medium)- Yes, I know it’s not shape tape but it’s the next best thing AND you can buy it for a great price when they have big sales unlike shape tape which never goes on sale.
Contour (Medium)- Love this stick, especially for the contour portion. Plus, it’s a great price. Shoutout to my best friend, Kelsey, for suggesting this to me.
Beauty Blending Sponge – This isn’t the exact sponge I use but any type of beauty blending sponge is a go to for me when I’m tending to my concealer and contour.
Loose Powder – No lie, I buy this at the dollar general. It’s cheap and does the job so I’m all about it.
Brow Pencil (brunette)- Decent price for a decent product. I love that it comes with the brow wand at the end to help comb them after you apply the gel.
Brow Filler (medium brown)- This product is called busy gal brows for a reason and a good one at that. So happy I bought this because it literally shortens my makeup routine by like 5 minutes. This product is awesome and super easy to use.
Brow Gel -Need help keeping those brows in place but don’t want to spend a lot? This product is your new friend. Also, if you’re an Amazon user, they have this product on prime!
Eyeshadow Primer – A little pricier but it does the trick. It’s worth the extra bit.
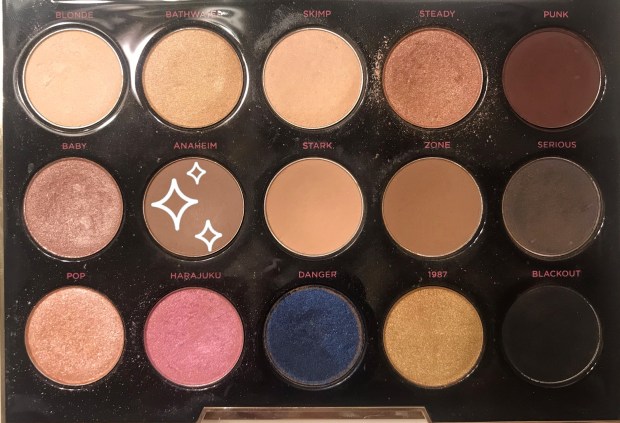
Blush & Highlighter – So this is not the same exact blush palette BUT it has a lot of similar blush colors & a gold highlighter just like the BATB one.
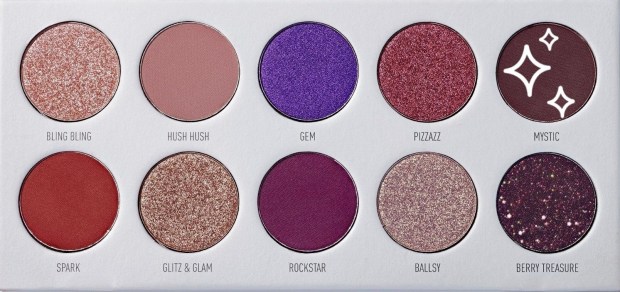
Eyeshadow – I have many eyeshadow palettes that I love and use a lot but I always seem to keep picking this one up for a few reasons. The pigmentation is incredible and it’s so easy to apply. All you need to do is dip your finger in the product and swipe it on the desired area, it’s that simple. The colors are also beautiful and right up my alley.
Mascara Primer – When I’m not applying fake eyelashes, this is my way to make my lashes full. Gotta love a good mascara primer!
Eyeliner – I love the felt tip this product has. I’m not amazing at putting liquid eyeliner on but this eyeliner has been my introduction into them and now I’m hooked.
Mascara – I’ve followed a gal that suggested this product so I tried it and have loved it ever since. I’ve used some other more expensive mascaras and I haven’t noticed a difference between them. So with that being said, I might as well save some money and use the cheaper one. 💁🏻♀️
Setting Spray – This is a pricy setting spray BUT mine has lasted me a long time, like a year, and works very well. Definitely worth it.
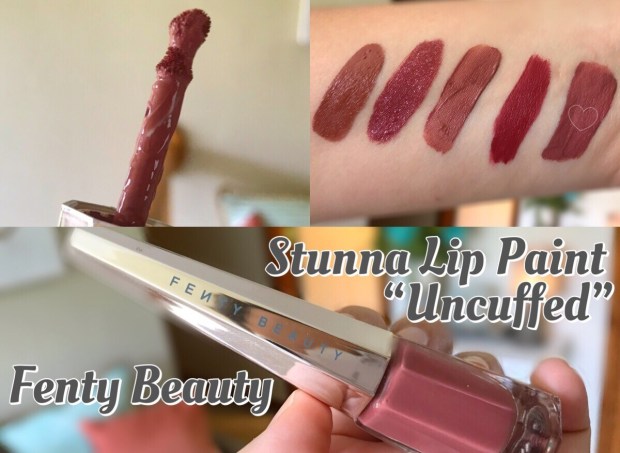
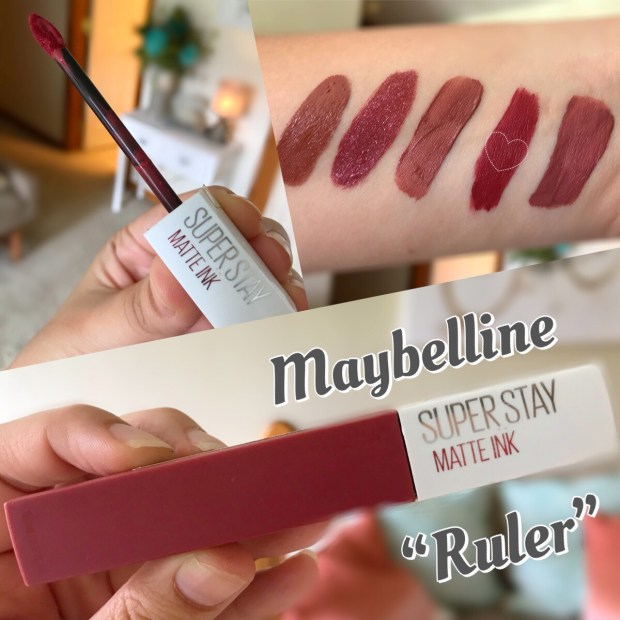
Liquid Lipstick (I Woke Up Like This)- This is my go-to lip color, I absolutely love this color in any situation. It’s an all around great day/night color. Highly recommend!
My Process:
- Apply NYX HD Studio Photogenic Primer Base all over my face.
Go in with Wet n Wild Photo Focus Foundation in Soft Beige and apply all over face. Use the Sigma F80 brush to smooth it all over face and neck.
Once blended, apply Tarte’s Creaseless Concealer under the eyes, down the bridge of the nose, in between eyebrows and feathered up towards forehead. Also, apply the Hard Candy Contour stick (darker side) underneath cheekbone, jawline, underneath bottom lip, under the tip of your nose, and below your hairline on forehead.
Use beauty blending sponge to blend it all out. How? Take your sponge and squeeze it under water so it can absorb it. Then squeeze it out before you begin to blend out the product. I personally like to blend out the contour first then go back to the concealer/highlight and then blend that out second.
Once it’s all blended, open up your Covergirl Pro Loose Powder and dip your beauty blending sponge into the powder. Apply that powder (and have a good bit of it on there) under your eyes where you placed your concealer. If you can see the powder sitting there then you put enough on, if not go back and place some more on there. This technique is called baking and we’re going to leave this loose powder on for a little bit. Also use the excess powder left on your sponge and continue dabbing it all over your face. Basically you want powder on all the places we concealed/highlighted.
Now we move to brows while we let our concealed eyes “bake”. Take your NYX Micro Brow Pencil and lightly outline the shape of your brows.
Next, take your Tarte’s Busy Gal Brows and fill in the rest of your eyebrows with the product. Use as much as you desire. I like a more natural look but some people like the darken their brows up more, do what pleases you.
Lastly, we take the Ardell Brow Sculpting Gel and lightly brush over our brows to apply the product. I only brush over it once because that’s more than enough product. Then grab the brush included in the NYX Micro Brow Pencil and smooth the rest of the gel throughout your brows. A lot of people go back through with concealer to make their brows look more precise but I don’t always think that’s necessary. If I’m not happy with my brows that day, I usually apply the concealer and that does the trick. If you need to do this, all you have to do is apply the concealer above and below your brows then use your sponge to blend out.
What’s next? Eyeshadow! But first, we prime those eyes with Urban Decay’s Eyeshadow Primer Potion. Just swipe on your eye lids and spread it across desired area.
While I wait for my Primer potion to dry, I brush off that excess loose powder and blend it into my face. I grab a blush brush and use a pink color from my Lorac Blush Palette. I also go in with the gold highlighter and swipe it down my nose, on cheekbones, and on my Cupid’s bow.
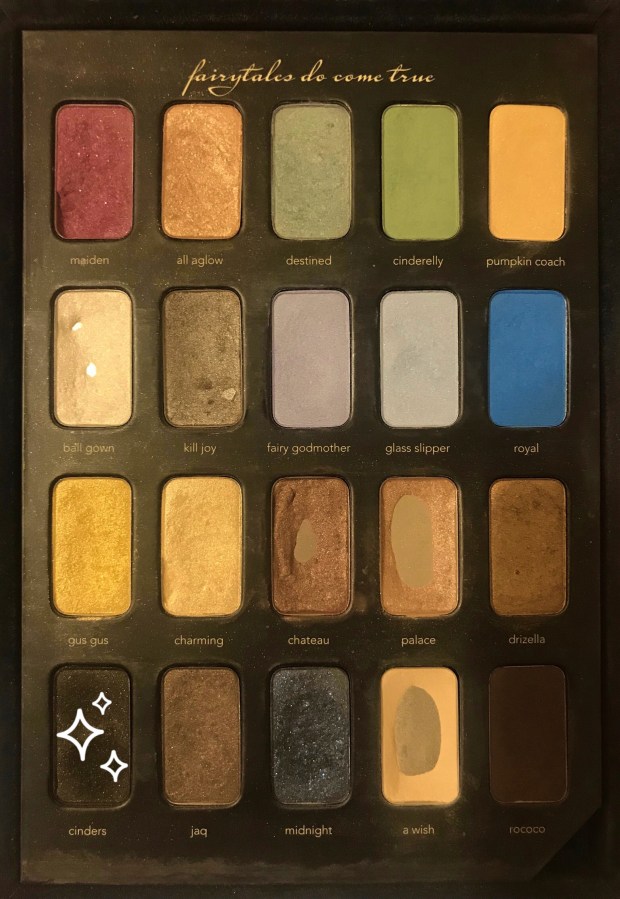
Now we grab the Tarte Rainforest of the Sea Sizzle Palette and apply “paddleboard” to the crease of my eyes. Next, we use “off duty” and place it on the outer corners of our eyes. Lastly, I go in with “snorkel” and start from my inner corner blending it out with my finger towards the center. All of those colors should blend in towards each other in the center.
Once my eyeshadow is on, I move onto Mabelline Stiletto Precision Eyeliner and wing it out on my upper lash line.
Then I like to move onto my eyelashes, applying Covergirl Amplify Mascara Primer to the lashes. Once I’ve applied that to my top and bottom lashes, I then grab my Mabelline Sensational Mascara and apply that over my top and bottom lashes too.
Once my mascara has been applied, I go back to my Covergirl Pro Loose Powder and reapply to my face on the places that feel dewy still. Then I grab my Urban Decay Setting Spray and spray it about 4 times across my face. I try to keep it about a foot away from my face so I just get a light mist to my face.
Lastly, I grab my NYX Slip Tease Lip Oil and apply it to my lips.
And, that’s it! I’m hoping in the nearby future I can get a video together for you all to be able to show you how I do things exactly. Comment below if you’d be interested in seeing something like that. If you’re interested in following along with my blog you can subscribe below to keep updated on new posts.


 Welcome/Welcome back friends,
 Iridescently Katey is a participant in the Amazon Services LLC Associates Program, an affiliate advertising program designed to provide a means for sites to earn advertising fees by advertising and linking to Amazon.com.


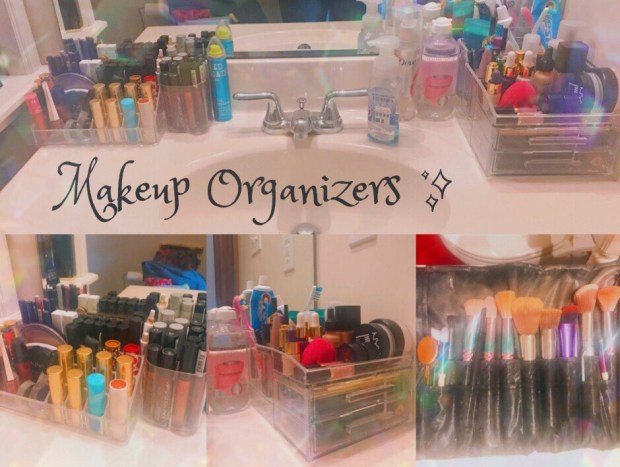
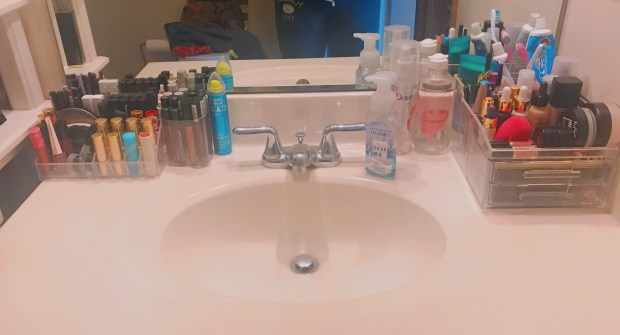 Full View of Makeup Organizers